目录
差点翻车
前言
GithubAction作为Github提供的免费的CI/CD服务,让开发者感受到了自动化的爽,相比起Travis CI来说,GitHubAction集成方便,非常适合快速部署的操作,本教程便是一篇如何利用GithubAction对于GithubPage+Hexo博客进行自动化部署,并利用gulp进行压缩。
配置GithubAction
生成key
首先依旧是申请key,
shellcd ~/.ssh
ssh-keygen -t rsa -b 4096 -C "$(git config user.email)" -f gh-pages -N ""
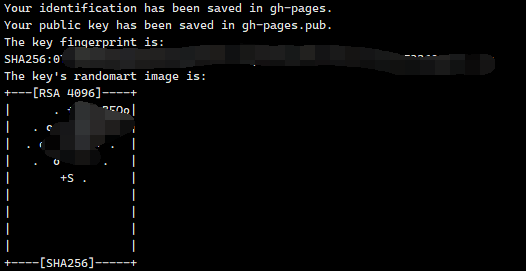
此时会生成**.pub的公钥与没有后缀的私钥**:

配置仓库
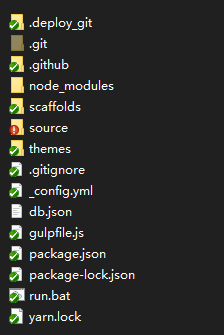
首先新建一个空仓库,用于存放你的博客根目录,新建完成后将博客根目录所有文件都上传到这个仓库中,传完项目结构大体如下:
然后开始配置仓库,首先
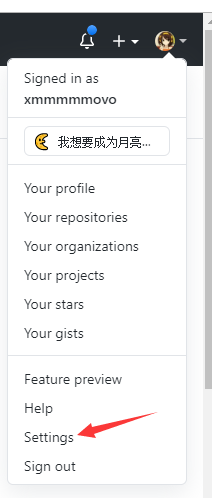
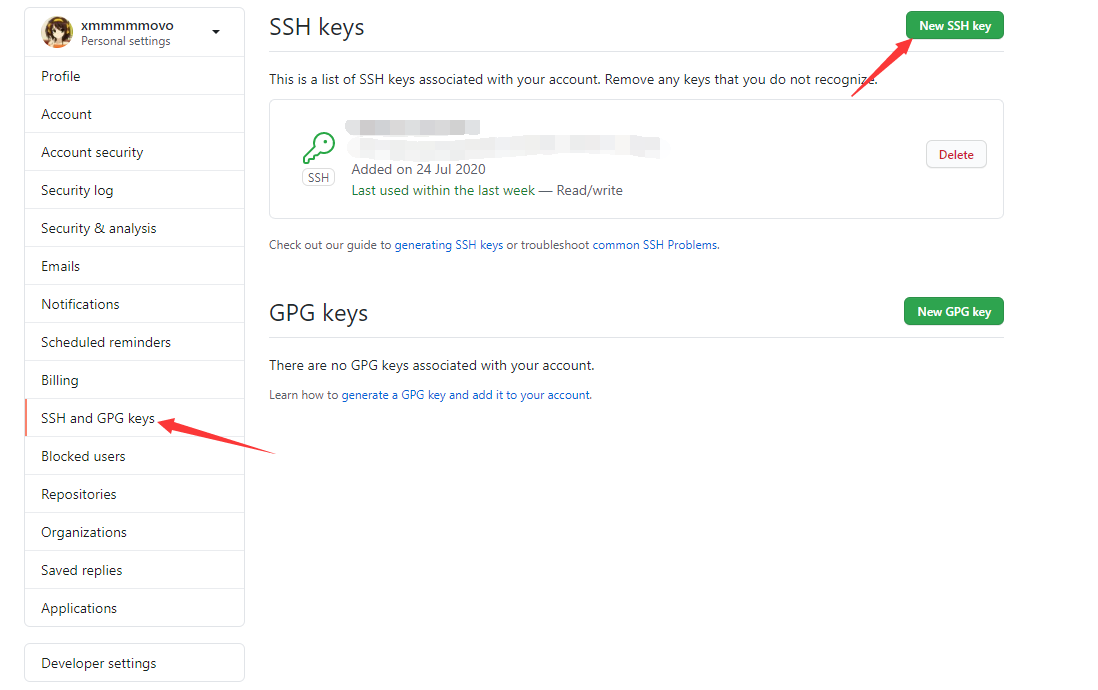
配置成你的公钥,然后在上传博客的仓库中,上传你的私钥:
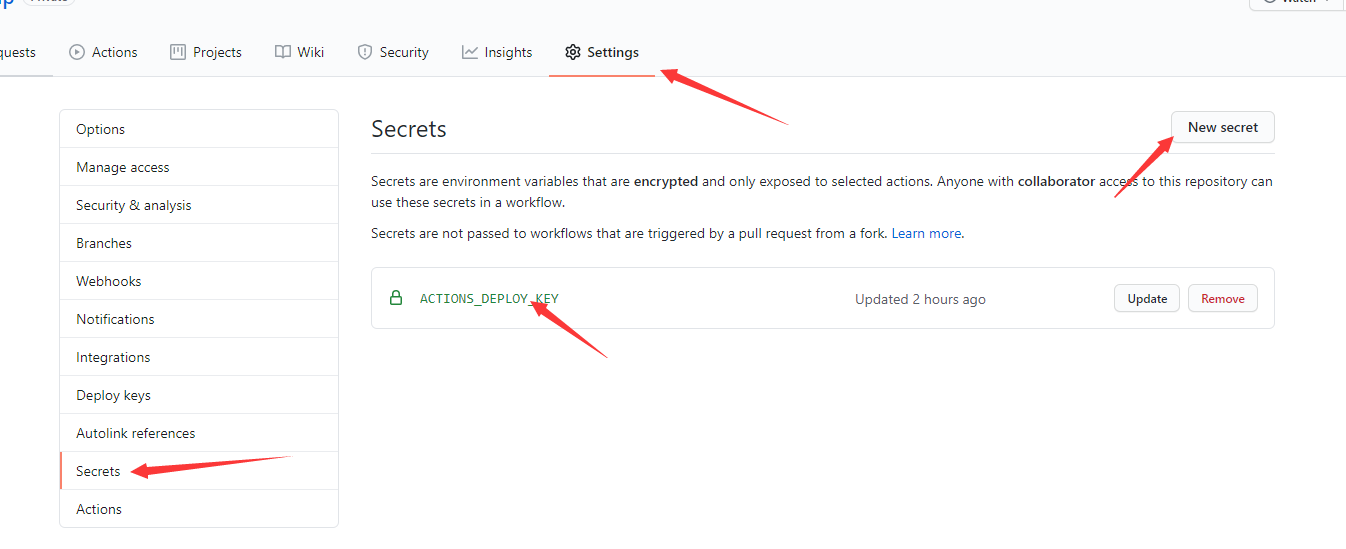
注意这里的私钥名字一定要跟后面Action里面设置的一样!(不知道就跟我一样)
配置workflow
在博客根目录新建.github文件夹,再在.github文件夹里新建workflows文件夹,新建完在workflows文件夹里新建deploy.yml文件,然后按照如下编写:
yaml# workflow name
name: Deploy To Github Pages

# 当有 push 到仓库就运行
on: [push]

jobs:
  deploy:
    name: Deploy Hexo Public To Pages
    runs-on: ubuntu-latest
    env:
      TZ: Asia/Shanghai

    steps:
    # 切换到master
    # from: https://github.com/actions/checkout
    - name: Checkout Repository master branch
      uses: actions/checkout@master

    # 安装node
    # from: https://github.com/actions/setup-node
    - name: Setup Node.js 11.x
      uses: actions/setup-node@master
      with:
        node-version: "11.x"

    # 缓存 node_modules
    - name: Cache node modules
      uses: actions/cache@v2
      with:
        path: ~/.npm
        key: ${{ runner.os }}-node-${{ hashFiles('**/package-lock.json') }}
        restore-keys: |
          ${{ runner.OS }}-build-${{ env.cache-name }}-
          ${{ runner.OS }}-build-
          ${{ runner.OS }}-

    # 安装hexo并生成
    - name: Setup Hexo Dependencies
      run: |
        npm install hexo-cli -g
        npm install
        hexo generate

    # 部署到GitHubPage
    # from https://github.com/peaceiris/actions-gh-pages
    - name: Deploy
      uses: peaceiris/actions-gh-pages@v3
      with:
        deploy_key: ${{ secrets.ACTIONS_DEPLOY_KEY }}
        # 这里写你自己的仓库名
        external_repository: xmmmmmovo/xmmmmmovo.github.io
        publish_branch: master
        publish_dir: ./public
        commit_message: ${{ github.event.head_commit.message }}
好了,这样就已经配置完成了,你每次提交到此仓库,便会自动帮你运行部署到GithubPage上去。
测试
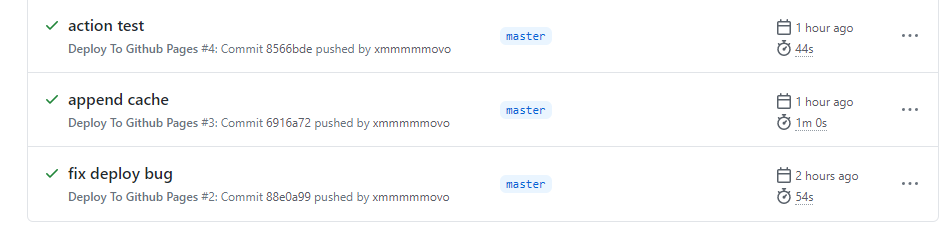
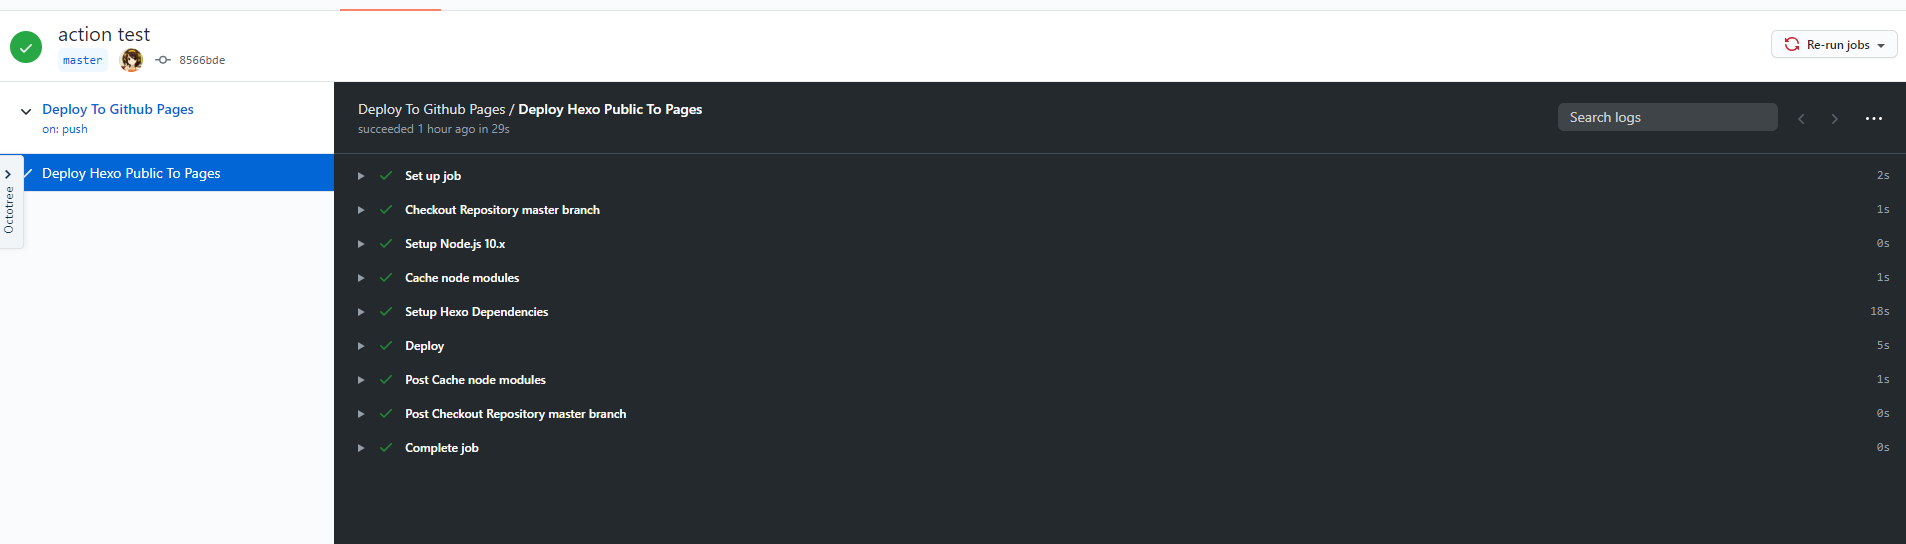
可以看到,已经成功运行了。
配置gulp
我们随便点开一个文件:
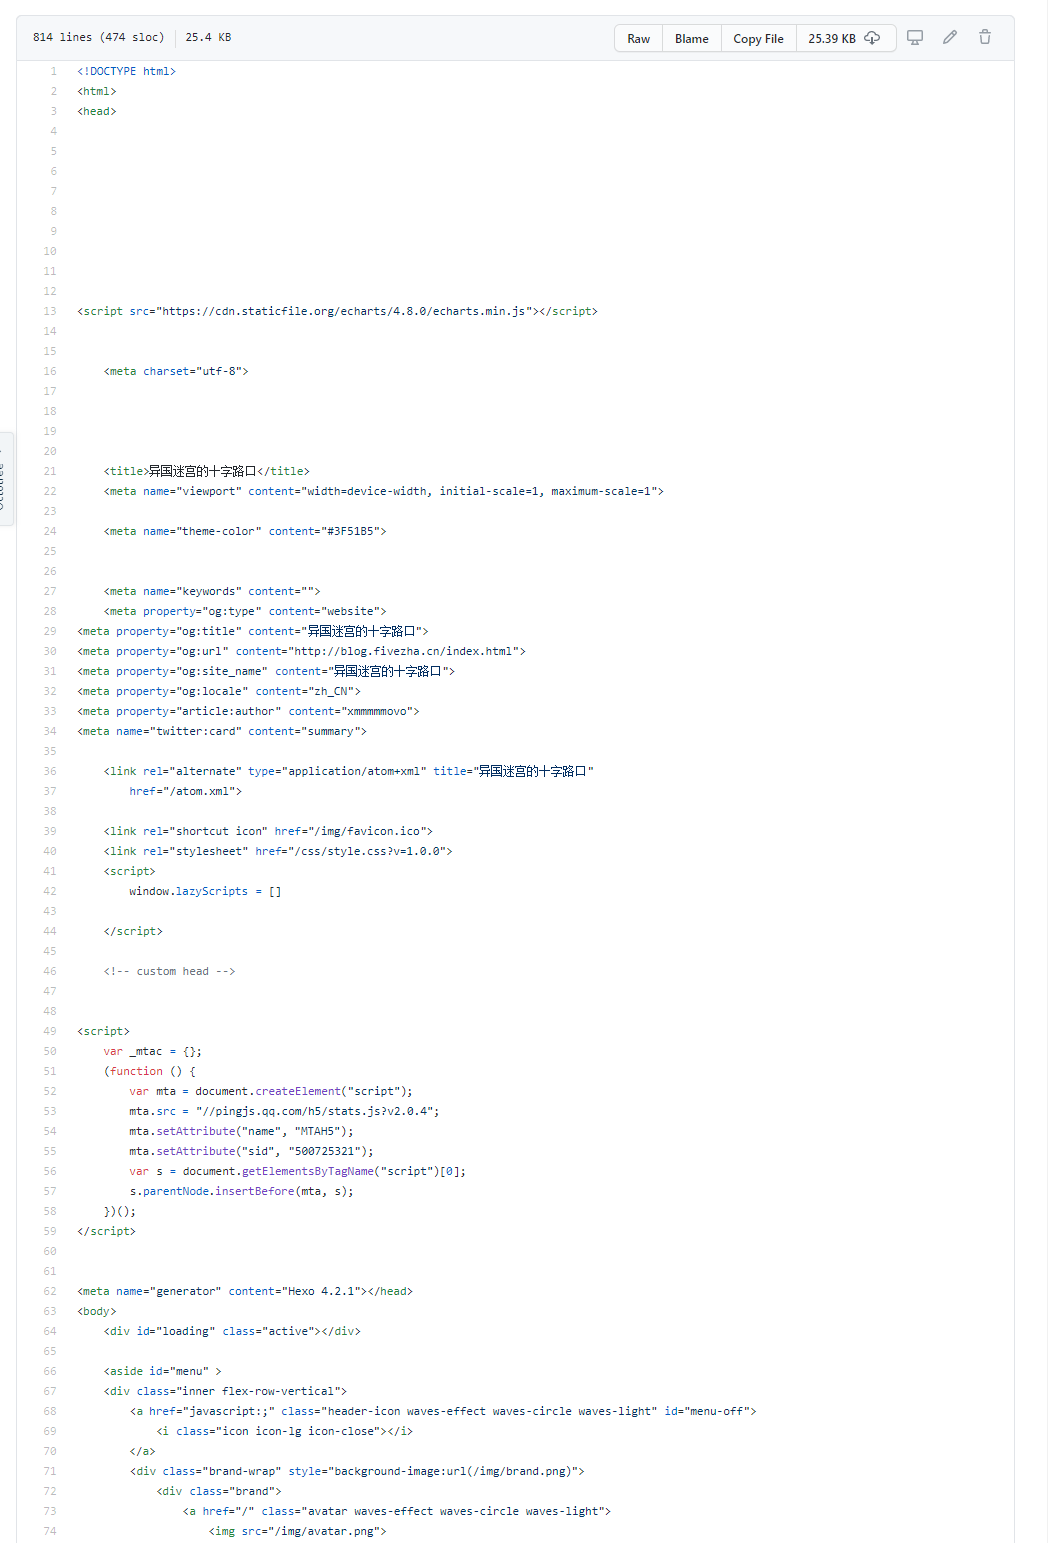
可以看到,里面充斥着大量的空格,积少成多,这会占用非常多的时间,让你的博客感觉加载起来很慢,所以既然我们都是全自动化部署了,我们不如直接在进行一遍压缩操作,这样使你博客加载的更加迅速,体验更加良好。
安装gulp
首先进到博客根目录,然后打开命令行,输入(这里其实你直接在package.json里面写也行(因为node_modules已经没用了),但是我比较懒):
shellnpm install gulp@3.9.1 gulp-minify-css gulp-htmlmin gulp-htmlclean --save-dev
待完成后,改写deploy.yml:
yaml# workflow name
name: Deploy To Github Pages

# 当有 push 到仓库就运行
on: [push]

jobs:
  deploy:
    name: Deploy Hexo Public To Pages
    runs-on: ubuntu-latest
    env:
      TZ: Asia/Shanghai

    steps:
    # 切换到master
    # from: https://github.com/actions/checkout
    - name: Checkout Repository master branch
      uses: actions/checkout@master

    # 安装node
    # from: https://github.com/actions/setup-node
    - name: Setup Node.js 11.x
      uses: actions/setup-node@master
      with:
        node-version: "11.x"

    # 缓存 node_modules
    - name: Cache node modules
      uses: actions/cache@v2
      with:
        path: ~/.npm
        key: ${{ runner.os }}-node-${{ hashFiles('**/package-lock.json') }}
        restore-keys: |
          ${{ runner.OS }}-build-${{ env.cache-name }}-
          ${{ runner.OS }}-build-
          ${{ runner.OS }}-

    # 安装hexo并生成
    - name: Setup Hexo Dependencies
      run: |
        npm install hexo-cli -g
        npm install
        hexo generate
        gulp

    # 部署到GitHubPage
    # from https://github.com/peaceiris/actions-gh-pages
    - name: Deploy
      uses: peaceiris/actions-gh-pages@v3
      with:
        deploy_key: ${{ secrets.ACTIONS_DEPLOY_KEY }}
        # 这里写你自己的仓库名
        external_repository: xmmmmmovo/xmmmmmovo.github.io
        publish_branch: master
        publish_dir: ./public
        # 这里我改成了与原格式相似格式的commit message
        commit_message: 'Site updated: ${{ github.event.head_commit.timestamp }}'
然后编写gulpfile.js文件用来加载gulp:
javascriptvar gulp = require('gulp');
var minifycss = require('gulp-minify-css');
var htmlmin = require('gulp-htmlmin');
var htmlclean = require('gulp-htmlclean');
gulp.task('minify-css', function() {
    return gulp.src('./public/**/*.css')
        .pipe(minifycss())
        .pipe(gulp.dest('./public'))
});
gulp.task('minify-html', function() {
  return gulp.src('./public/**/*.html')
    .pipe(htmlclean())
    .pipe(htmlmin({
         removeComments: true,
         minifyJS: true,
         minifyCSS: true,
         minifyURLs: true
    }))
    .pipe(gulp.dest('./public'))
});
gulp.task('default', ['minify-html', 'minify-css']);
此时再次提交,等待GithubAction完成之后,便可以查看效果了~
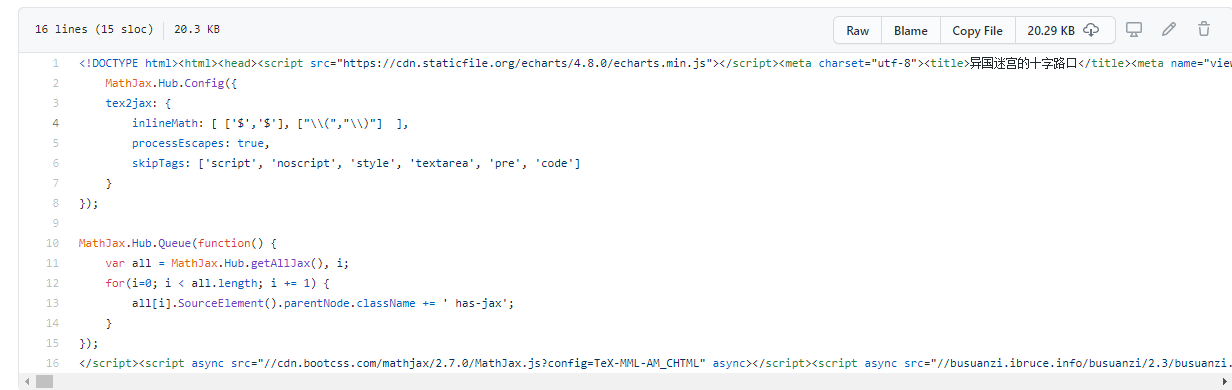
可以看到800多行瞬间变为了16行,是不是很爽~


本文作者:xmmmmmovo
本文链接:
版权声明:本博客所有文章除特别声明外,均采用 署名-非商业性使用-相同方式共享 4.0 国际 (CC BY-NC-SA 4.0) 许可协议。转载请注明出处!